
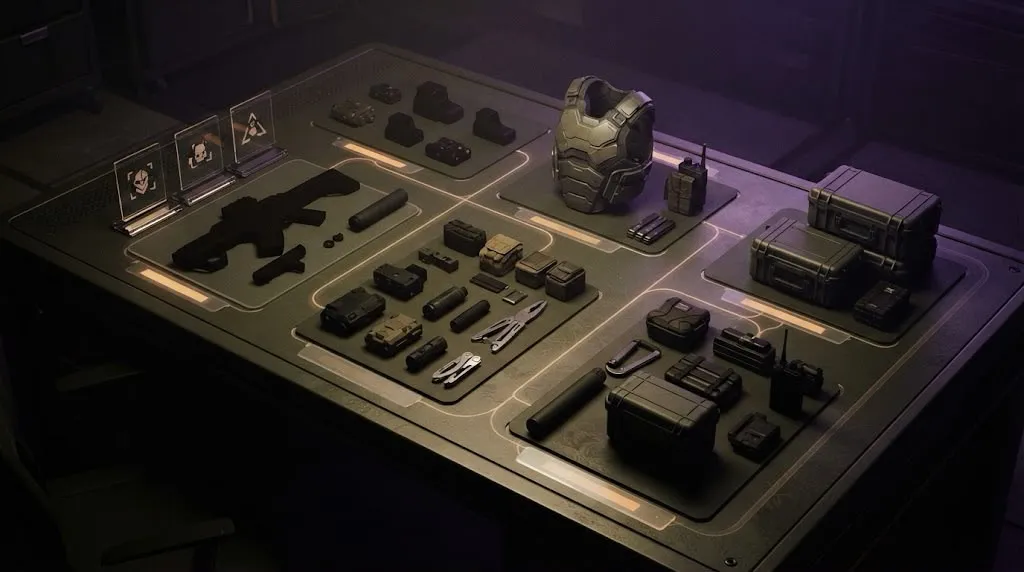
There’s no single best weapon or loadout in Delta Force. There’s the loadout that matches the fight you’re actually walking into, and the one that doesn’t. A build that feels incredible holding a long sightline in Warfare can feel clumsy the moment you’re checking corners in a tight Operations building, and copying someone else’s exact setup skips the part that actually matters: understanding why it worked for them.
Start with the mode
Loadout priorities shift depending on whether you’re in Warfare or Operations, and not just because of the size of the fights. Warfare is built around repeated engagements, with room to adjust your loadout as a match goes on if the current build isn’t working for how things are playing out. Operations is built around commitment. Once you’re deployed, whatever you brought is what you’re fighting with until you extract or the run ends, with no mid-run do-over. That difference changes how much risk it’s reasonable to build into a loadout. An experimental or situational build costs you little in Warfare’s repeated-engagement structure, and costs you the entire run in Operations if it doesn’t work out. Decide which mode you’re actually building for before you touch a single attachment. If you haven’t settled on which one to spend most of your time in yet, our Warfare vs. Operations guide covers that decision first.
Decide what range you’re building for
Most engagements you’ll actually fight fall into one of three rough bands: close quarters, mixed/mid-range, and longer sightlines. Building for a range you rarely fight at is one of the most common ways a loadout underperforms. A build tuned for long, controlled engagements can feel sluggish the moment a fight collapses to close range, and a build tuned for fast, aggressive close-quarters work gives up too much control the moment you’re forced into a longer duel.
The honest way to answer this isn’t “what range sounds more skillful.” It’s what actually happens most often on the maps and objectives you play. A player who mostly holds angles and covers teammates from a distance needs a different build than one who’s constantly pushing into buildings and clearing rooms, even in the exact same mode.
Control beats paper stats if you can’t land shots
A weapon’s theoretical output only matters if you can actually keep it on target. Gunsmith-style customization in Delta Force lets you push a weapon’s numbers in different directions, but a build that maximizes damage or fire rate at the cost of control isn’t better if the extra output mostly lands as missed shots. If you’re consistently landing your first few shots and losing the fight after that, control and recoil management are probably worth more to your build than additional raw power. If you’re already comfortable holding a weapon on target, there’s more room to lean into output instead.
This is a genuinely personal calibration, not a universal rule. The same weapon and attachment combination can be the right call for one player’s aim and the wrong call for another’s, and that’s fine. The goal is matching the build to how consistently you actually shoot, not to a build someone else found comfortable.
Handling and mobility are part of the build
Every attachment that improves stability, range, or control tends to cost something in return, usually handling speed, aim-down-sight time, or mobility. That trade is worth it when the fight you’re building for rewards the stat you gained, and it’s a real cost when it doesn’t. A build that’s slightly slower to aim but noticeably steadier is a good trade for holding a sightline, and a bad one for clearing rooms where the fight is decided by who reacts and repositions first.
Treat handling and mobility as part of the build’s job, not an afterthought you only notice when it’s already too sluggish for the fight you’re in.
Build attachments to solve problems
Delta Force’s Gunsmith customization system exists to create trade-offs, not free upgrades. Every attachment that helps in one area costs something in another. Almost every attachment improves some stat, so the right question isn’t “does this improve a stat.” It’s “does this fix a real problem this build actually has.”
If a weapon is hard for you to control, prioritize a control-oriented attachment before chasing more range or damage. If you’re building for close-quarters work, don’t sacrifice responsiveness for long-range stability you won’t use. If longer engagements are the goal, control and consistency at range usually matter more than mobility. If you keep losing fights because you’re empty at the wrong moment, that’s a magazine or reload problem worth solving directly, rather than a reason to rebuild the whole loadout around something unrelated.
Shared loadout codes and pre-built configurations are a fine starting point, but they were built around someone else’s aim, someone else’s most common range, and someone else’s mode. Using one without understanding what problem each piece is actually solving means you won’t know what to change the moment it stops fitting your fight.
Warfare loadout logic
Because Warfare’s repeated-engagement structure leaves room to adjust as a match goes on, it’s the more forgiving place to build around a general-purpose plan and refine it as the match tells you what’s actually needed. A setup that handles a range of engagement distances reasonably well, with enough magazine capacity and control to survive sustained, repeated fights rather than one clean engagement, tends to hold up better across a full match than a highly specialized build that excels in one specific situation and struggles everywhere else. If the map or the fight shifts hard toward one range or style, that’s exactly what an in-match loadout adjustment is for.
Operations loadout logic
Because Operations asks you to commit to what you bring for the whole run, it rewards planning for the range and situation you actually expect on that specific deployment, not the build that would be most fun to experiment with. Preparedness and consistency matter more here than raw peak performance, since there’s little room to adjust mid-run if the build turns out to be wrong for the fight you’re in. A dependable, controllable weapon you can commit to for the whole run is usually a better call than a higher-ceiling option that only pays off if everything goes right. The risk of losing everything you brought on a failed extraction makes “reliable” worth more here than it is in Warfare, which is exactly the stakes our guide to surviving extraction covers in more depth.
Common loadout mistakes
- Copying a shared build without understanding it. A loadout code built around someone else’s aim and most common range doesn’t automatically fit yours.
- Optimizing for a range you rarely fight at. A long-range build is wasted if most of your actual engagements happen up close, and the reverse is just as true.
- Sacrificing too much handling for control, or too much control for handling. Either direction can leave a build that’s technically stronger on paper but worse in the fights you actually get into.
- Chasing theoretical stats over consistency. The build that lands its shots reliably usually outperforms the one with better numbers you can’t control.
- Ignoring mode context. A build that makes sense in Warfare’s low-stakes, adjustable structure can be the wrong level of risk to bring into an Operations run you’re committing to for the whole deployment.
- Changing too many variables at once. Swapping several attachments between matches makes it hard to tell which change actually helped or hurt.
Three practical loadout scenarios
An aggressive close-range player. Prioritizes handling, fast aim-down-sight time and control at short distances over long-range stability. The plan is to close distance and win fast exchanges, so attachments that cost mobility for range the player won’t use are a poor fit here.
A flexible objective player. Builds around a general-purpose setup that stays effective across mixed ranges, accepting being slightly less specialized in exchange for not being caught out by whatever range a given fight happens to demand. It’s a natural fit for Warfare’s repeated-engagement, adjustable structure.
A cautious Operations player. Prioritizes a dependable, controllable weapon suited to the specific deployment’s expected range over a higher-ceiling but riskier build, since a build that turns out to be wrong for the fight can’t be corrected until the run is already over.
Final loadout checklist
- Which mode am I building for: one built around repeated engagements and mid-match adjustment, or one where I’m committing to this loadout for the whole run?
- What range do I actually expect to fight at most often, based on how I really play, not how I’d like to play?
- Can I control this weapon consistently, or am I sacrificing accuracy for stats I can’t use?
- What is this attachment actually fixing, and is that the problem I actually have?
- Have I changed more than one variable since my last match, making it hard to tell what helped?
- Does this build match the risk the mode actually asks of me?
A loadout built around honest answers to those six questions will consistently outperform one copied from someone whose aim, range and mode were never actually yours to begin with.
Sources
Facts in this guide were checked against these pages in October 2026:
- Delta Force official website (Team Jade)
- Delta Force on Steam (64-player Warfare, user reviews)